Create Scope
Scopes define the specific actions applications can be allowed to do on a user's behalf.
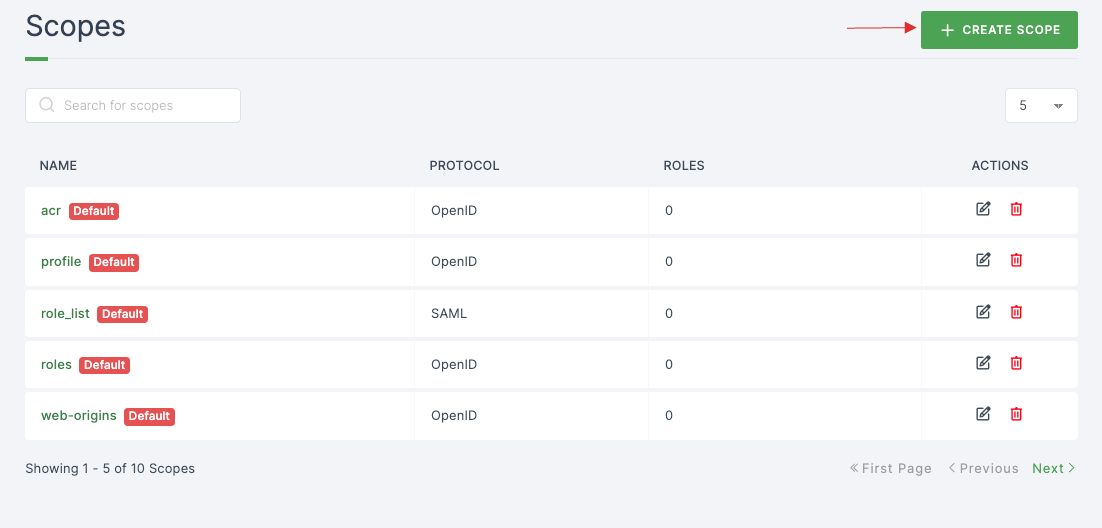
1 Go to Dashboard > Authorization > Scopes.
2 Click on +CREATE SCOPE.
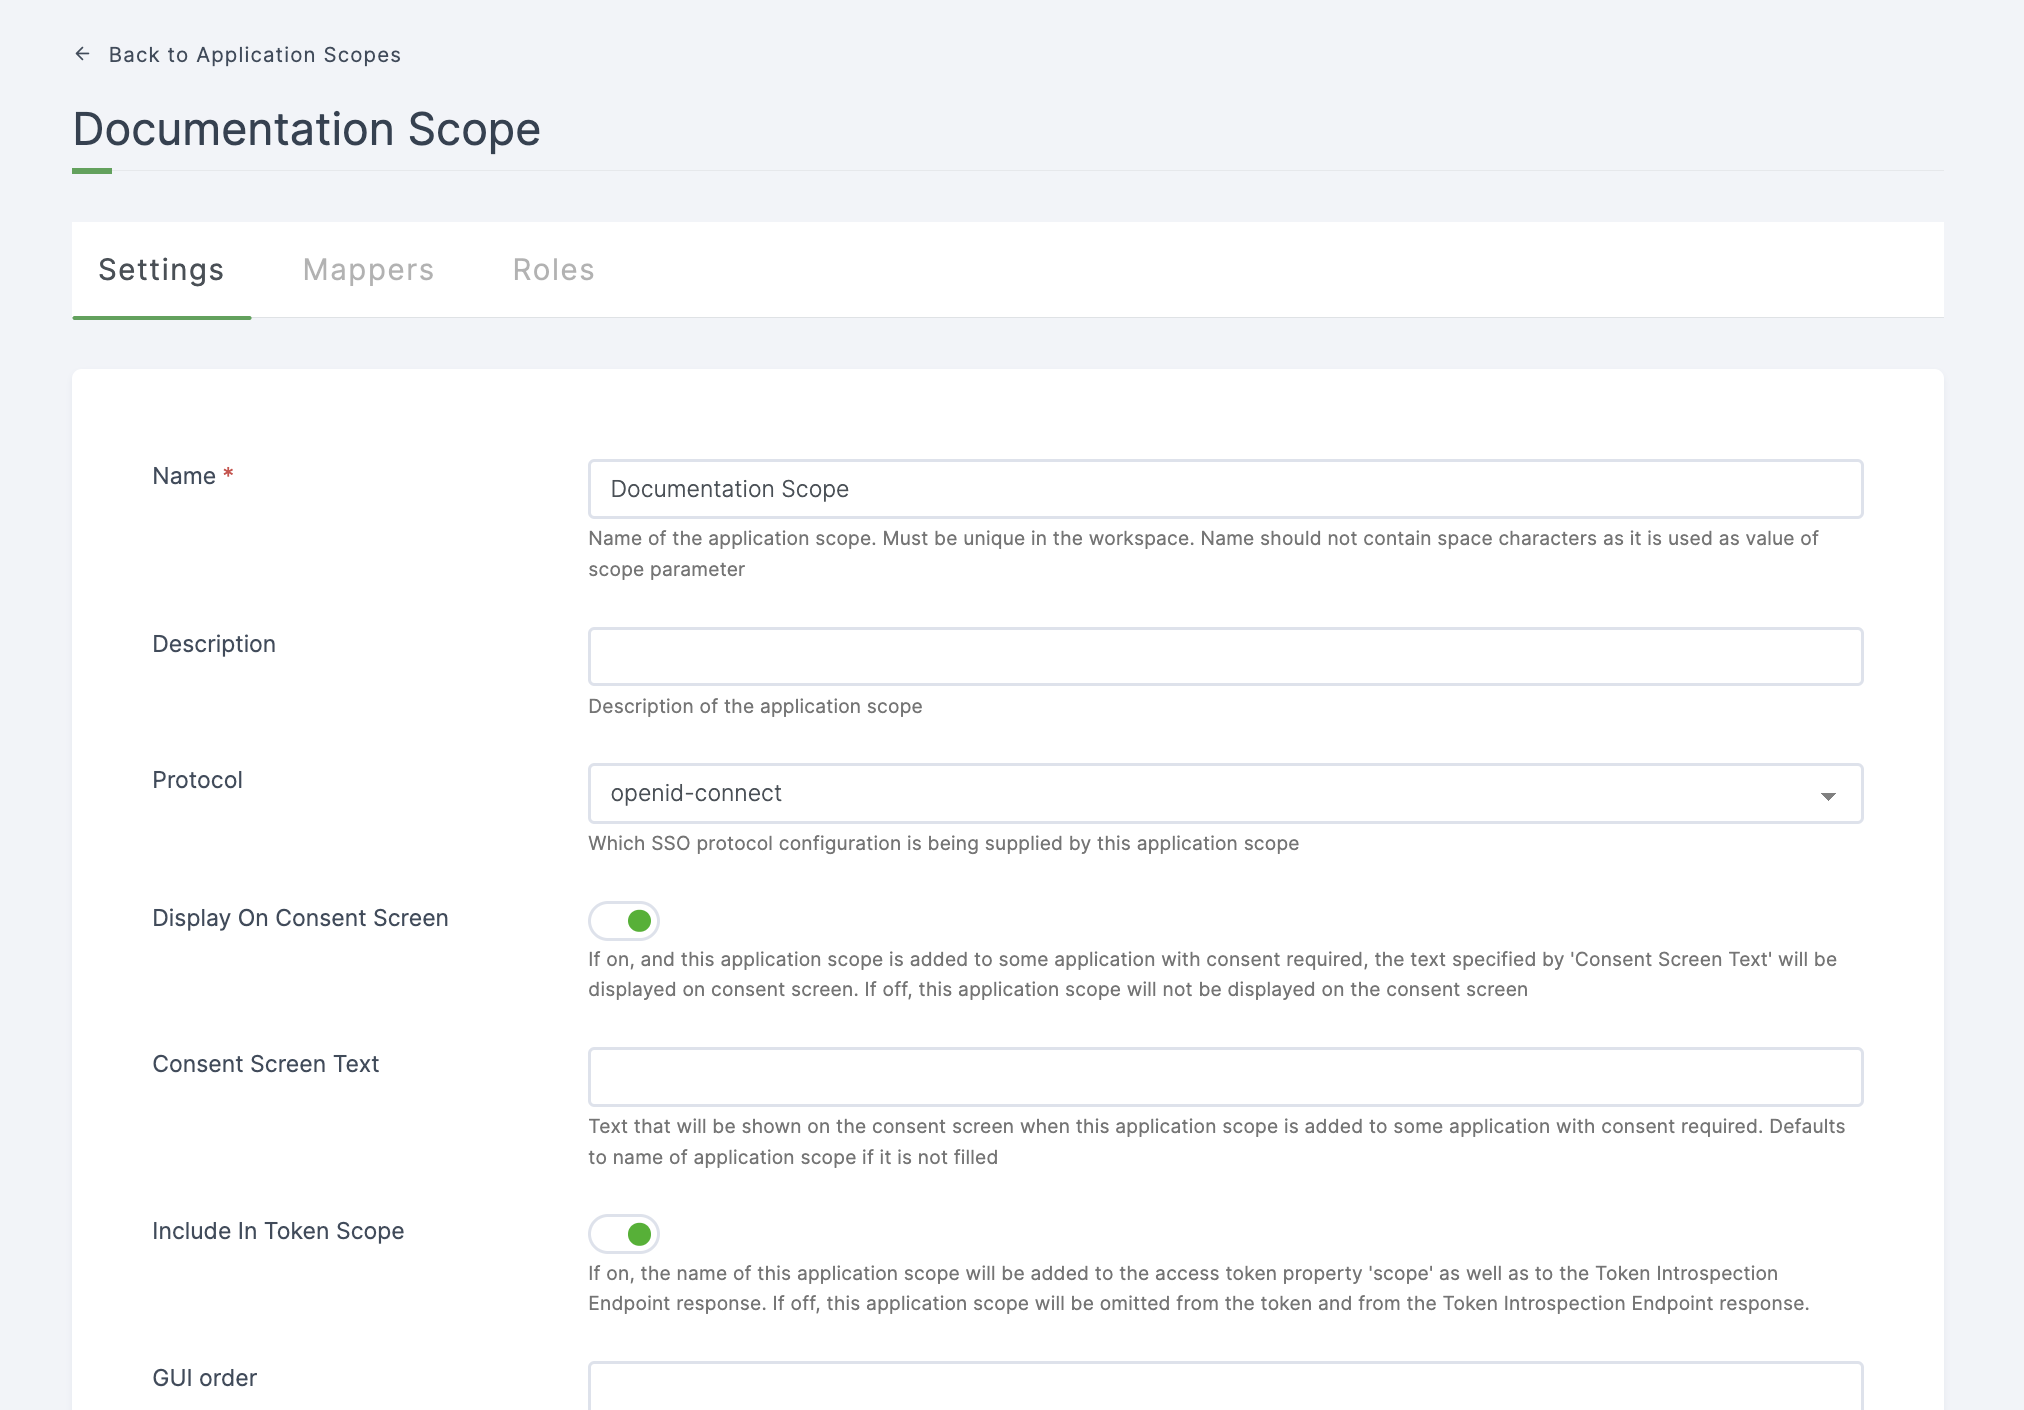
3 Provide a descriptive name, this is a mandatory field. Ensure that all other configurations are completed according to your requirements.
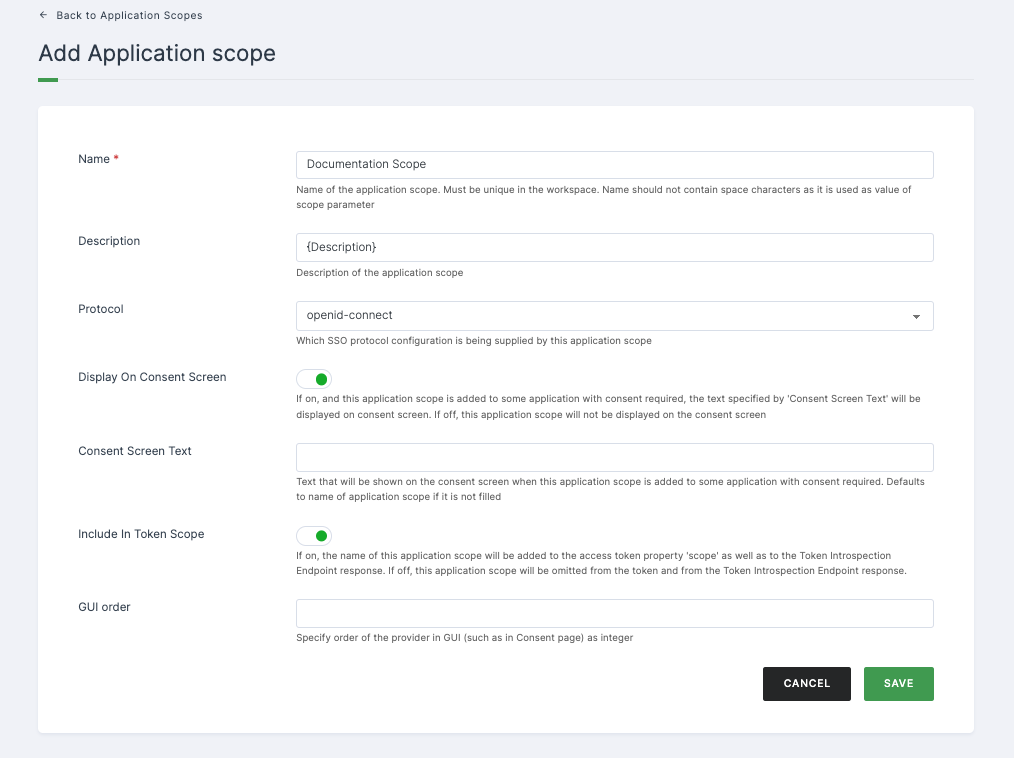
Configuration
| Configuration | Description |
|---|---|
| Name | Name for the newly created scope. |
| Description | A brief explanation for the applications. |
| Protocol | Select the SSO protocol to be excecuted in the application. |
| Display On Consent Screen | When enabled, and this application scope is included in an application with mandatory consent, the content can be defined under 'Consent Screen Text' will appear on the consent screen. If disabled, this application scope will not be presented on the consent screen. |
| Consent Screen Text | The content displayed on the consent screen upon adding this application scope to a consent-required application. If left blank, it will default to the name of the application scope. |
| Include In Token Scope | When activated, the title of this application scope will be included in the 'scope' property of the access token, along with being featured in the response from the Token Introspection Endpoint. If deactivated, this application scope will be excluded from both the token and the response of the Token Introspection Endpoint.(NOTE: Applicable only for openid-connect.) |
| GUI order | Indicate the provider's sequence in the graphical user interface (e.g., on the Consent page) using an integer value. |
4 Lastly, click on SAVE.
5 The scope will be created successfully.